Welcome! If you're here, you've been roped into one of my mad ideas: LED control via MIDI! Sure, they have really nothing at all to do with each other, but hey, pretty lights are fun!
Checkout a demo video:
This project started as a crazy idea: A lot of external footswitches don't have status lights; you have no idea what they're controlling, or the status of something on the other end. And unfortunately, that's the doing of the manufacturer of whatever device you're wanting to control. But…what if we could shove some controllable LED's onto an aux switch, that you could send commands to and control your own statuses?
Well, here we are! The first product to be home of this design is a Compact 6-switch SideAux auxillary switch pairing with a Morningstar Engineering controller. Along with 6 footswitches (split into two sets of 3 to connect into 2 MC* Omniports), there are 7 RGB LEDs: one per footswitch, and one status LED.
Every LED is controllable in color and brightness, as well as the ability to store and recall presets. So, lets get to it!
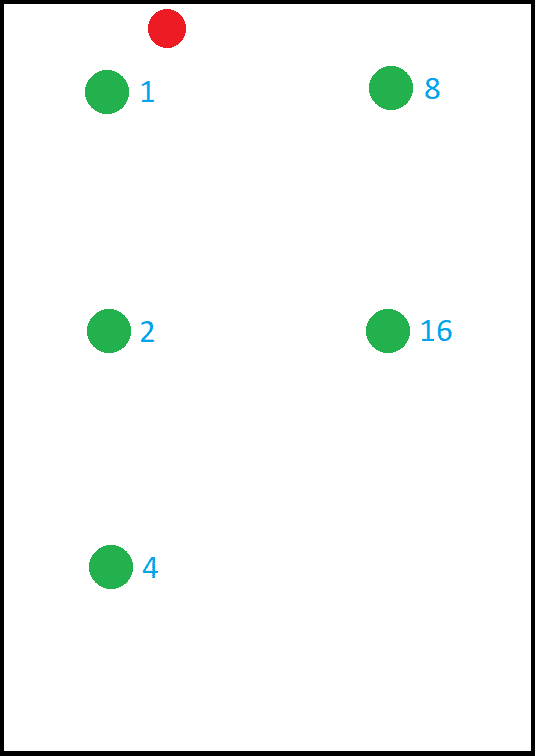
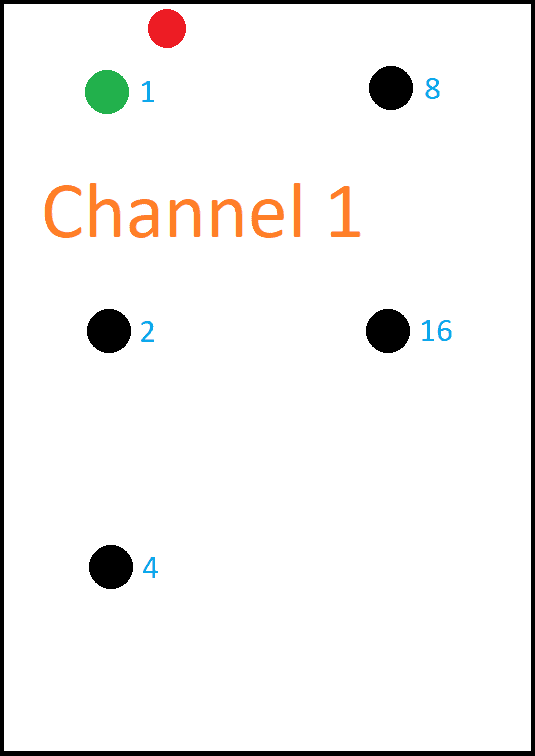
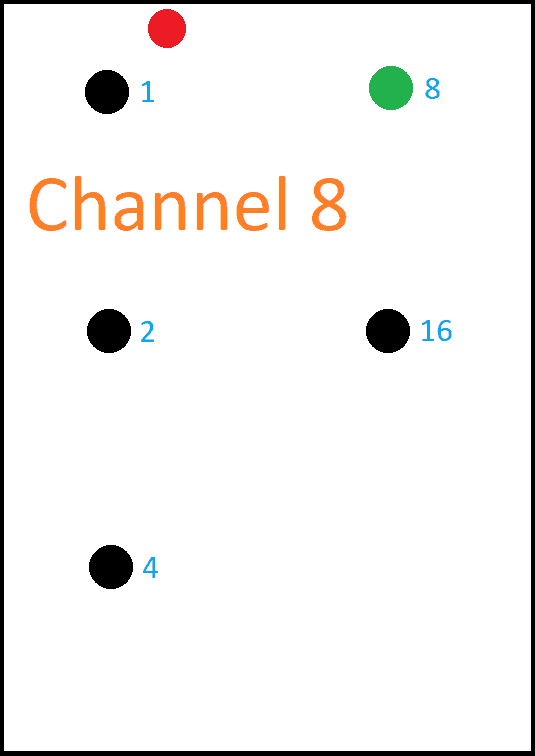
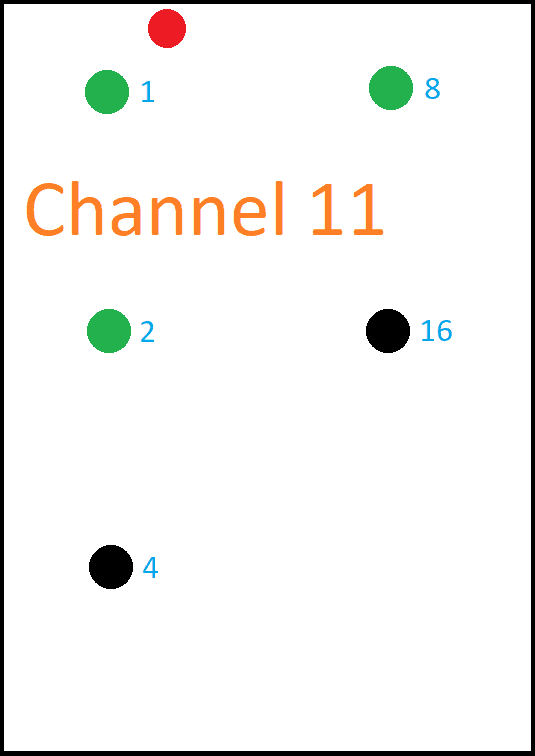
First, the MIDI channel. By default, I ship on MIDI Channel 16. But if you need to change it, no worry! Press and hold the button on the rear side of the switch while you are powering it up, and release when the status pixel turns Red. At that point, the MIDI channel will light up in Binary format. Math time: you just need to add up the lit LED's binary values to get your channel. Every press of the top switch will increment the MIDI Channel by 1, unless you hit 16, then it'll loop back to 1. Press the switch firmly, and patiently between presses. There was a fine balance between capturing presses, but not counting double-presses on such a small switch. Once you've picked your MIDI channel, just wait 5 seconds doing nothing, and it'll save the setting and reboot itself.
Example MIDI Channels:
If you want/need to factory reset the switch (reset to Midi Channel 1, and delete all presets) do the same as above but keep holding that switch until the status pixel turns white. Release, and it'll reinitialize back to factory settings.
As the switch boots up in normal mode, everything flashes blue for a second, that's the initial power on. Pretty quickly, they'll turn back off.
Then, a Red/Green/Blue chase pattern will run as a status check of all of the lights.
Following this, the MIDI channel will be displayed, again in Binary format.
And finally, the switch is active/ready to receive MIDI and do light-stuff. The status pixel will turn a dim blue when it's ready.
The status pixel itself is uncontrollable, it is used to relay statuses. However you can enable/disable it's always-on-blue light if you want:
| PC Number | What it does |
| 120 | turn off standby blue light |
| 121 | turn on standby blue light |
As for the individual pixels, I've tried to make this as easy as possible, while fitting within MIDI spec. Each pixel is given a range of CC numbers, representing the Pixel + the Brightness. The first number is the pixel, the second number is the brightness
| CC | Meaning |
| #0 | Pixel # at 0 of 9 brightness |
| #1 | Pixel # at 1 of 9 brightness |
| #9 | Pixel # at 9 of 9 brightness |
| 29 | Pixel 2, at 9 of 9 brightness |
| 35 | Pixel 3, at 5 of 9 brightness |
| 40 | Pixel 4, at 0 of 9 brightness (i.e. off) |
| 70-79 | Control all pixels at once, with 0-9 brightness |
The CC value controls the color in a Hue-control style manner;
| Value | Color |
| 0 | Off |
| 1 | Red @ 100% |
| 2->17 | Red @ 100%, Green ramping up |
| 18 | Red & Green @ 100% |
| 19->34 | Green @ 100%, Red ramping down |
| 35 | Green @ 100% |
| 36 -> 51 | Green @ 100%, Blue ramping up |
| 52 | Green & Blue @ 100% |
| 53-68 | Blue @ 100%, Green ramping down |
| 69 | Blue @ 100% |
| 70-85 | Blue @ 100%, Red ramping up |
| 86 | Blue & Red @ 100% |
| 87-102 | Red @ 100%, Blue ramping down |
| 103 | Red @ 100% |
| 104 -> 127 | Red, Green, and Blue all ramping from 1% -> 100%, creating “White” |
If you want to save presets (a specific set of lights turned on to specific values/brightness), you can do that with Program Change commands, just like most pedals and presets.
First, setup the lights as you want.
Then, send PC126. This puts the controller in “Save Where?” mode with the Status LED lighting white.
Then, send the PC you want to save that setting into. PC1-100 are available to store into.
You will get a confirmation pixel flash, and you're done! To recall it, simply send PC<wherever you stored it>


